Podspec 調整資料夾結構
由於官方的 pod lib create 產生的專案結構,模組的編譯會依賴於某個 Demo,
不適合單獨編譯 Framework 和做單元測試,匯入程式碼和圖片資源也要特別小心路徑,
也不便於建立多層子模組 Submodule 和進行管理,
所以我們來試著改造看看吧!
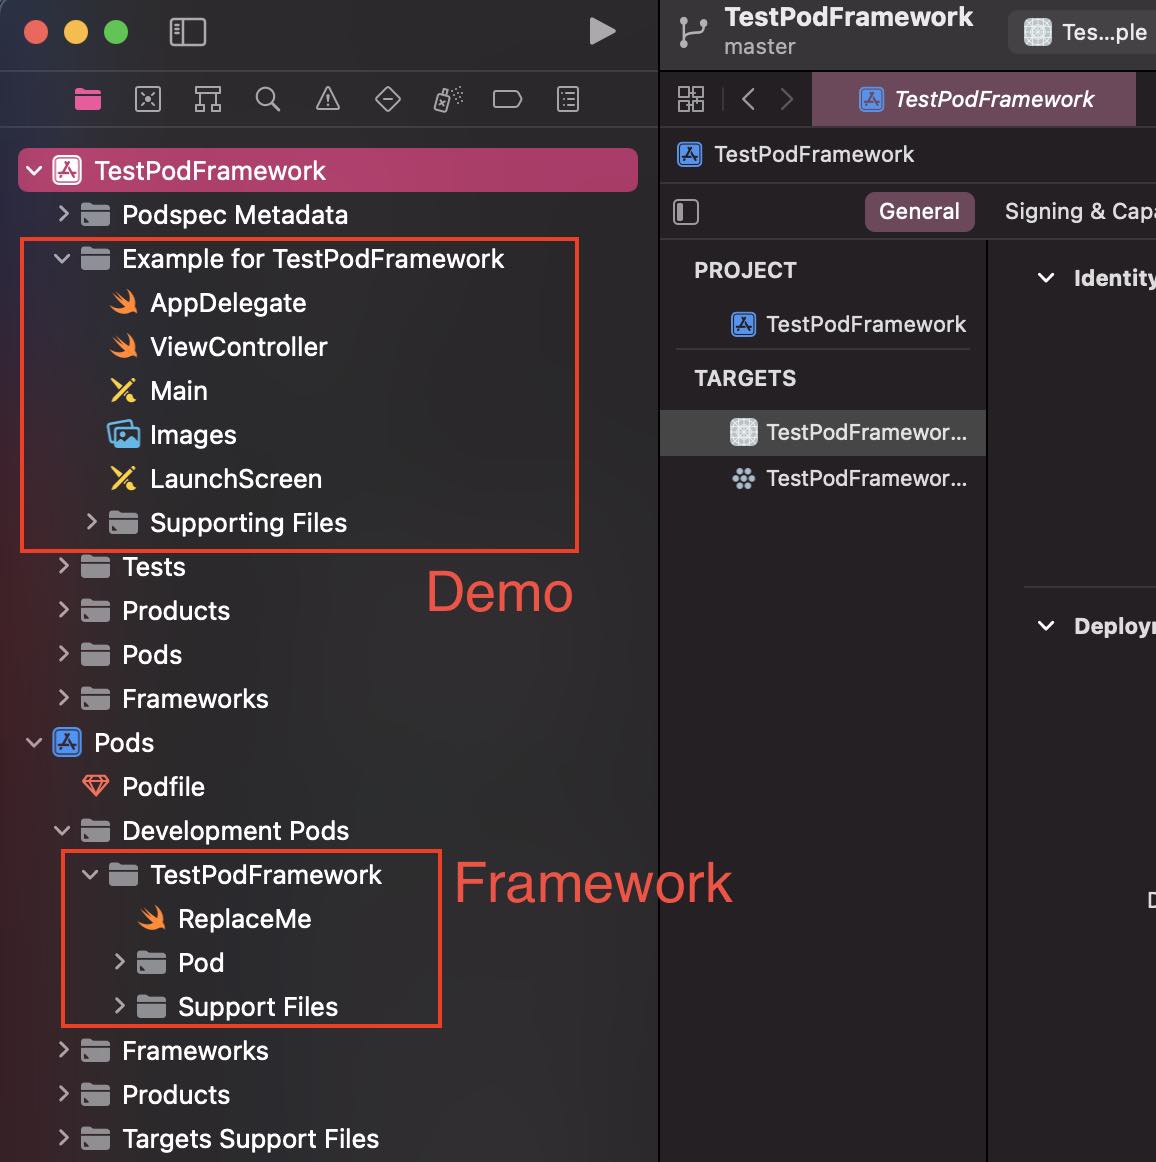
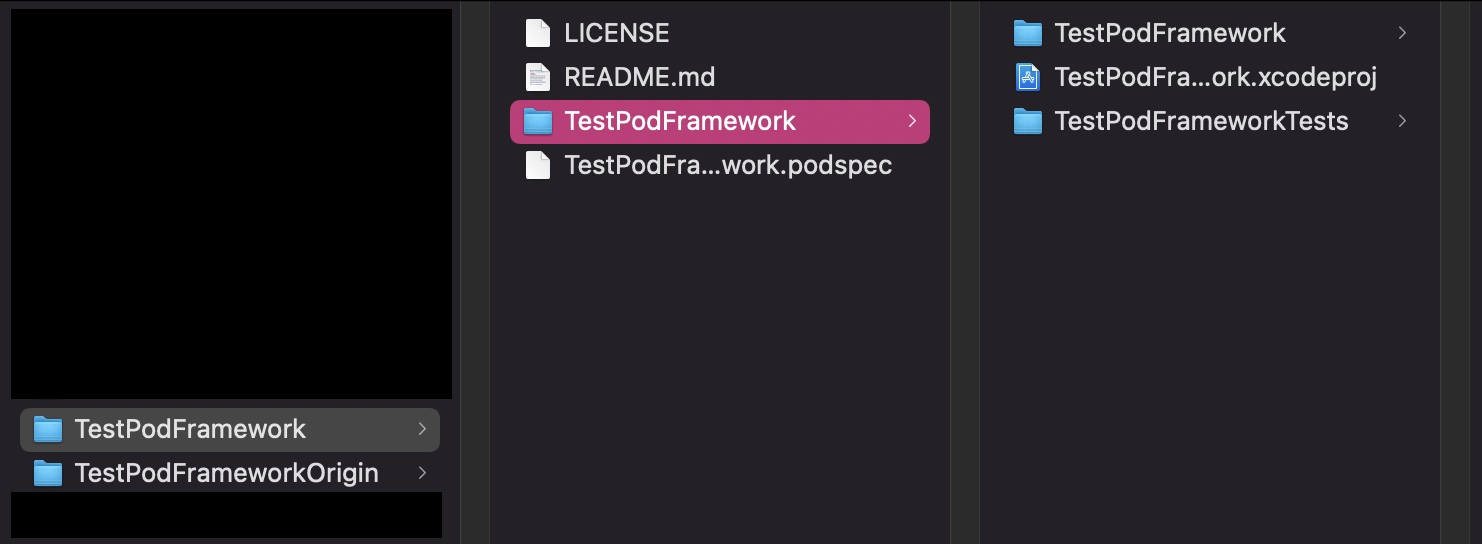
- 原本的資料夾結構
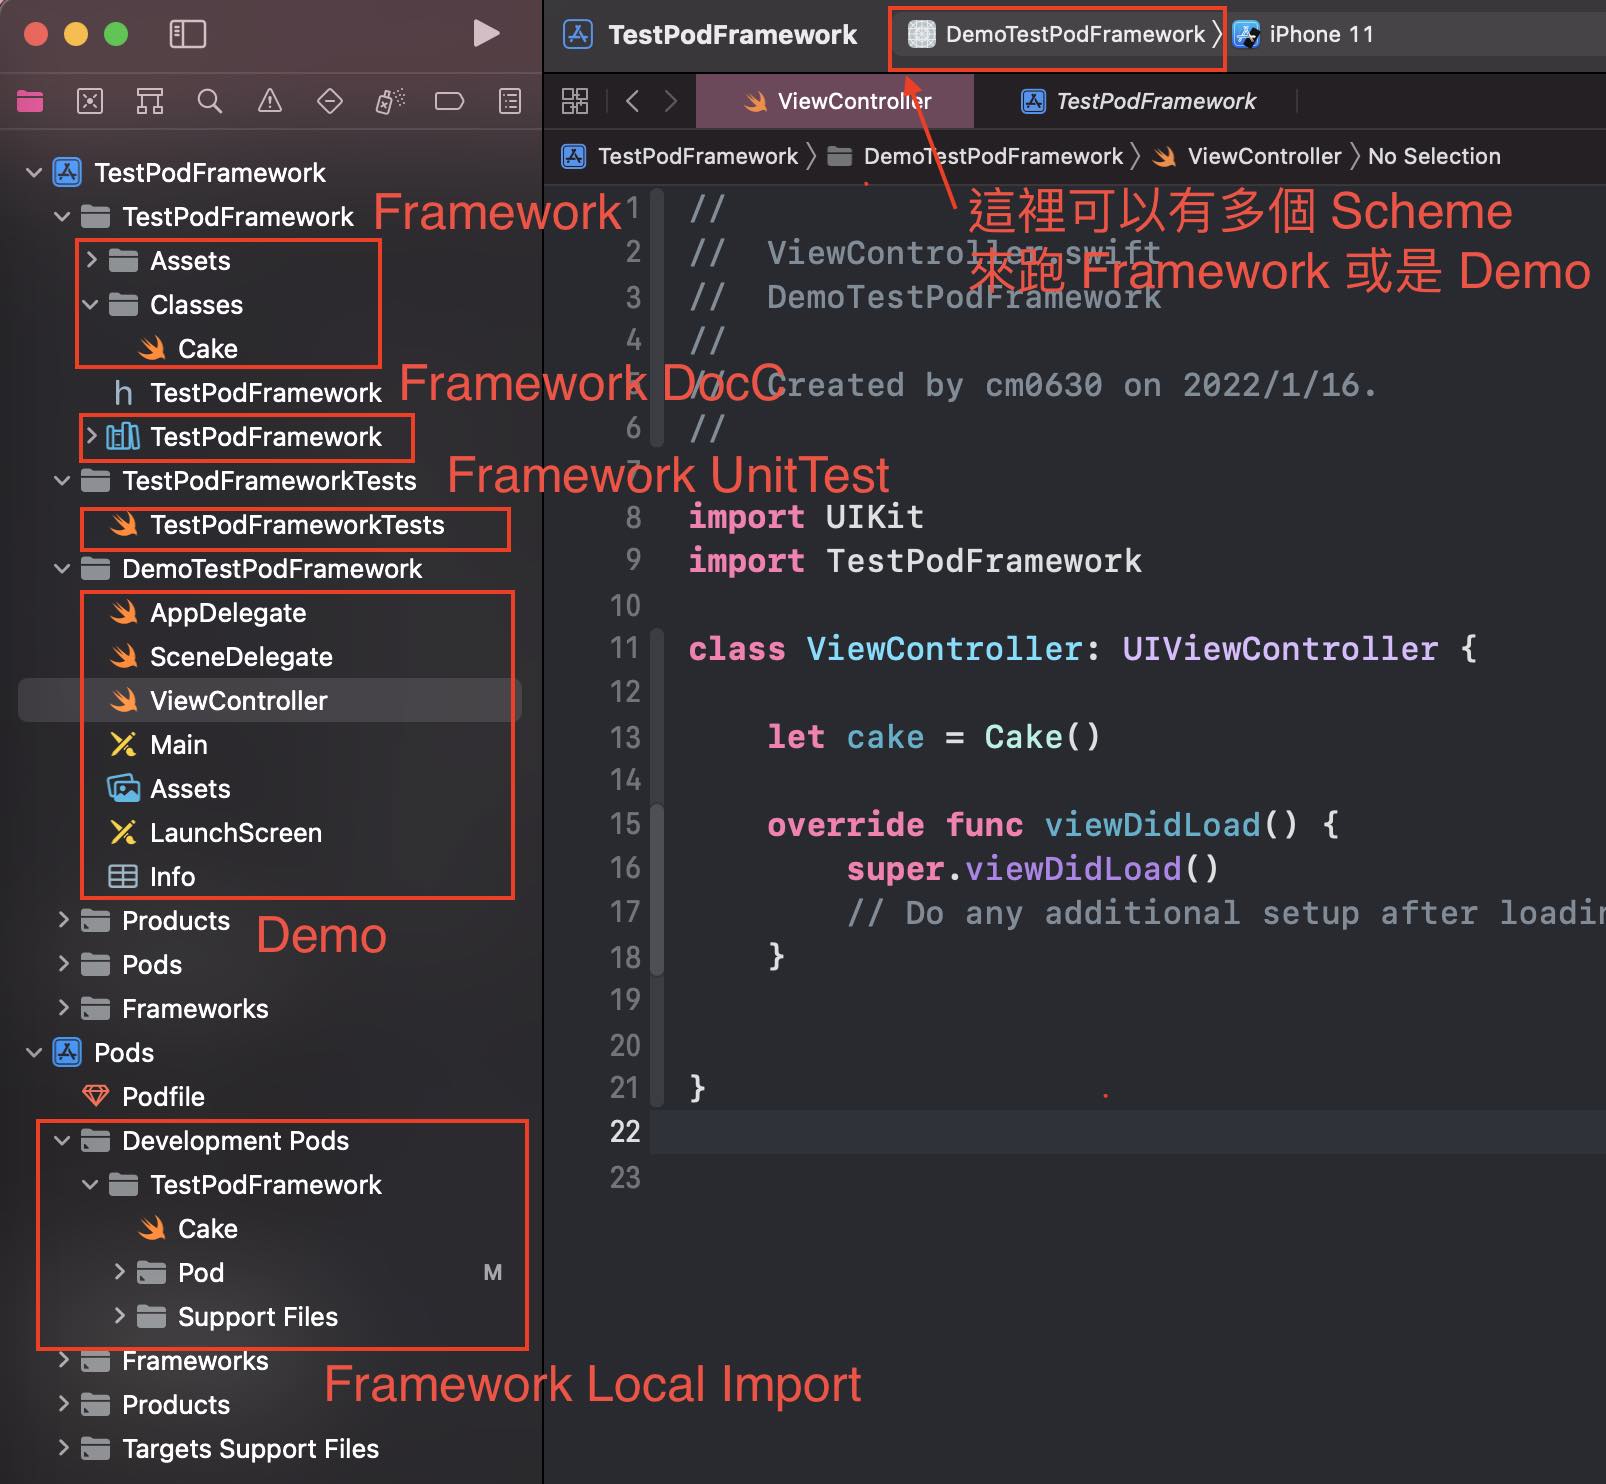
- 最後調整後的資料夾結構
修改完的好處
- 可以單獨的 Scheme 可以單獨編譯 Framework,適合來跑 CICD
- 可以有預設的 DocC 來自動產生 Framework 文件
- 可以單獨跑 Framework UnitTest
- 可以方便管理多層子模組 Submodule
調整資料夾步驟
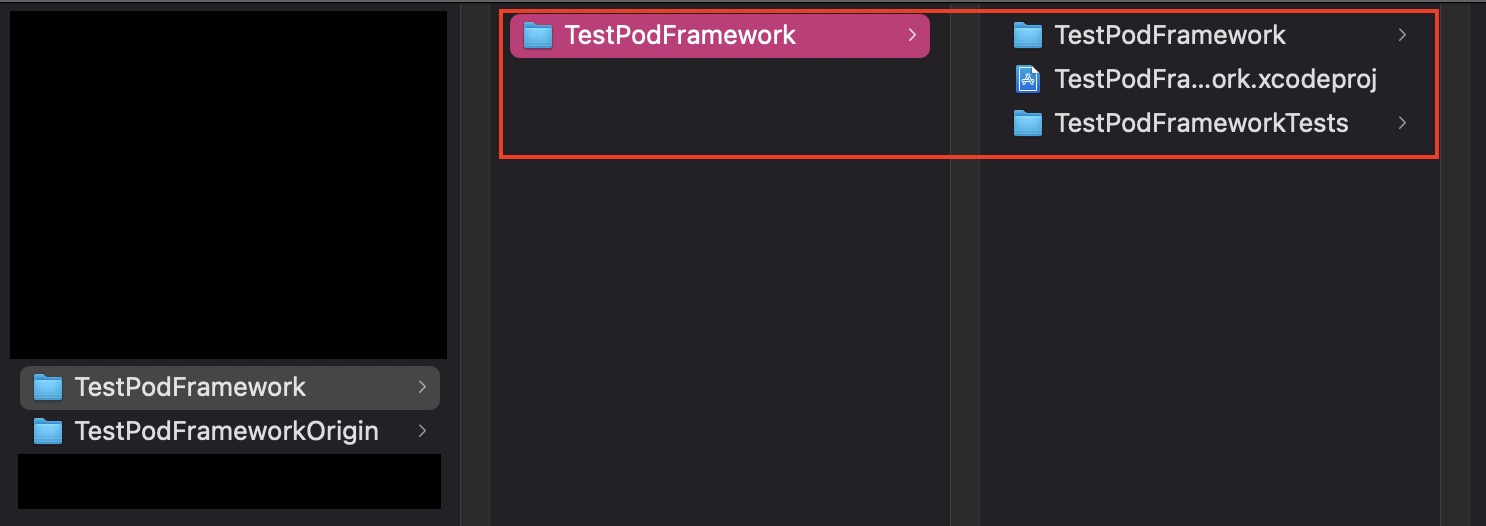
- 先將原本的 Podspec 模組資料夾換個名字,例如 TestPodFramework => TestPodFrameworkOrigin,避免等等衝突名稱
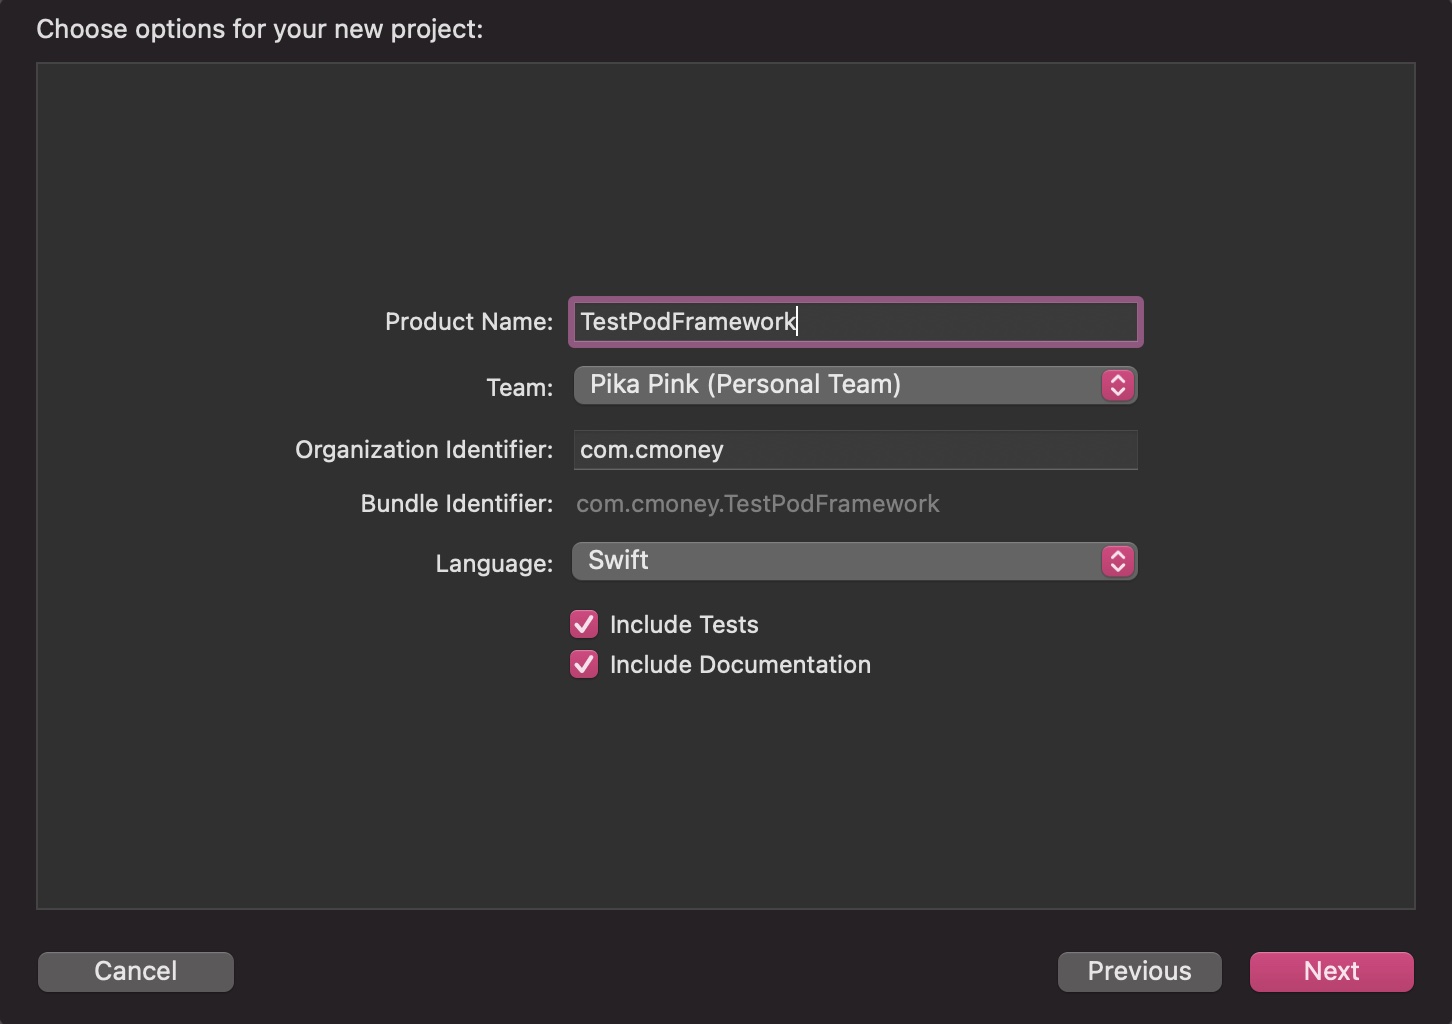
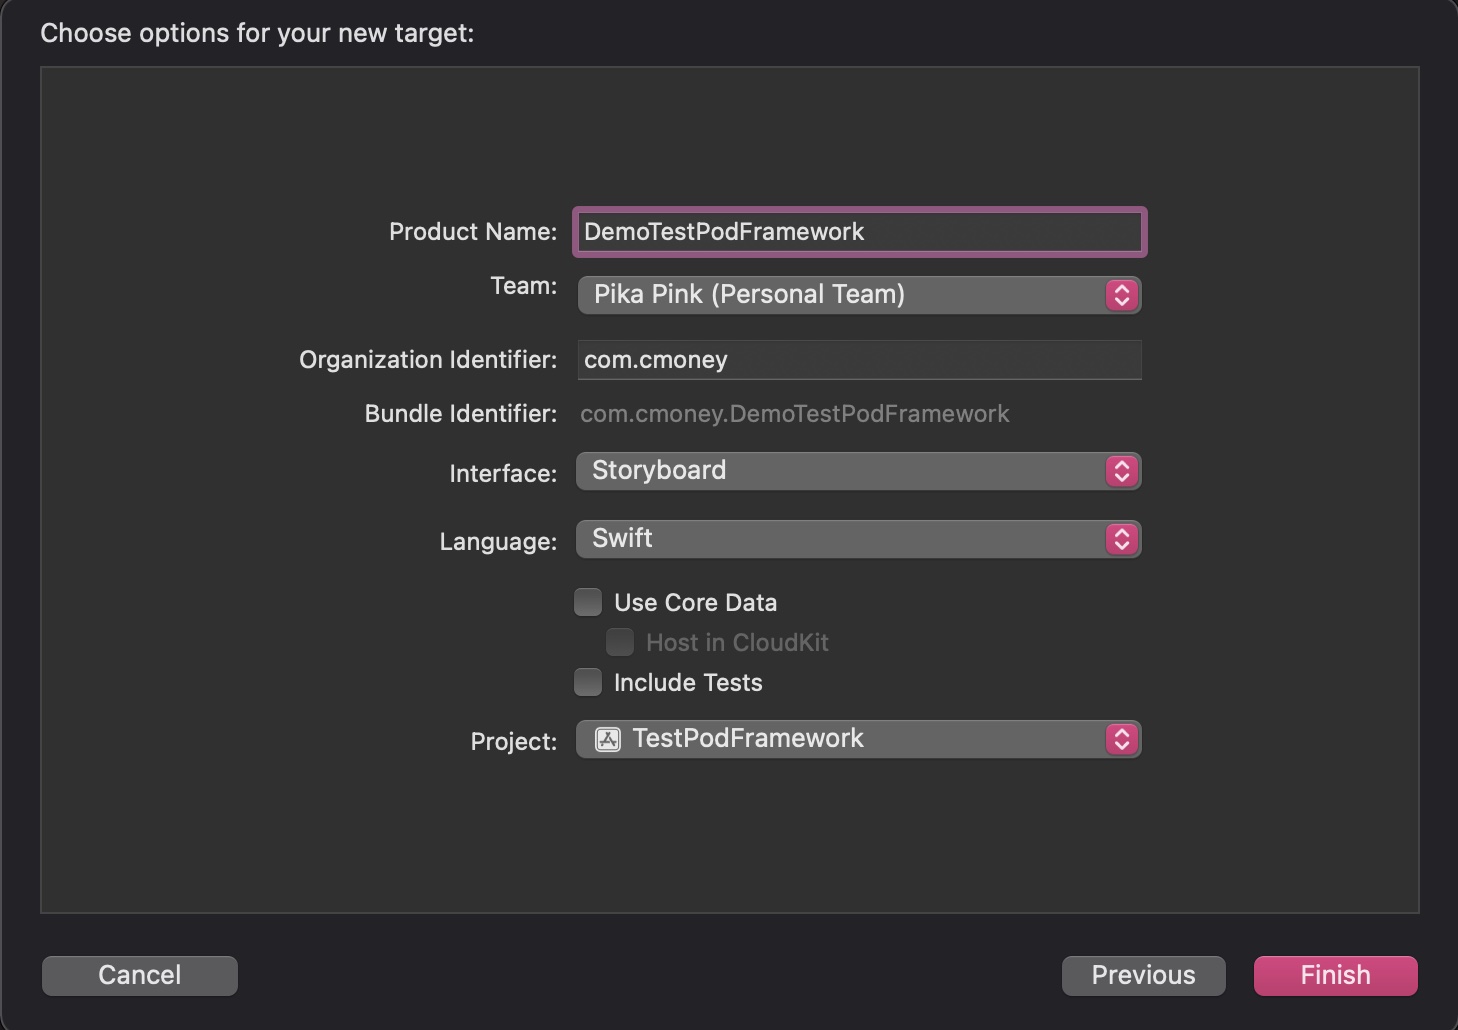
- 使用 Xcode 建立新的 Framework Project,命名跟原本的 Podspec 一樣就好,並且將它放在同名的資料夾裡
- 將跟程式碼沒關係的部分 (LICENSE、README.md、TestPodFramework.podspec) 複製到新的 “TestPodFramework 根目錄”
- 將跟程式碼和資源檔的部分 (Classes、Assets) 複製到新的 “TestPodFramework 專案裡”
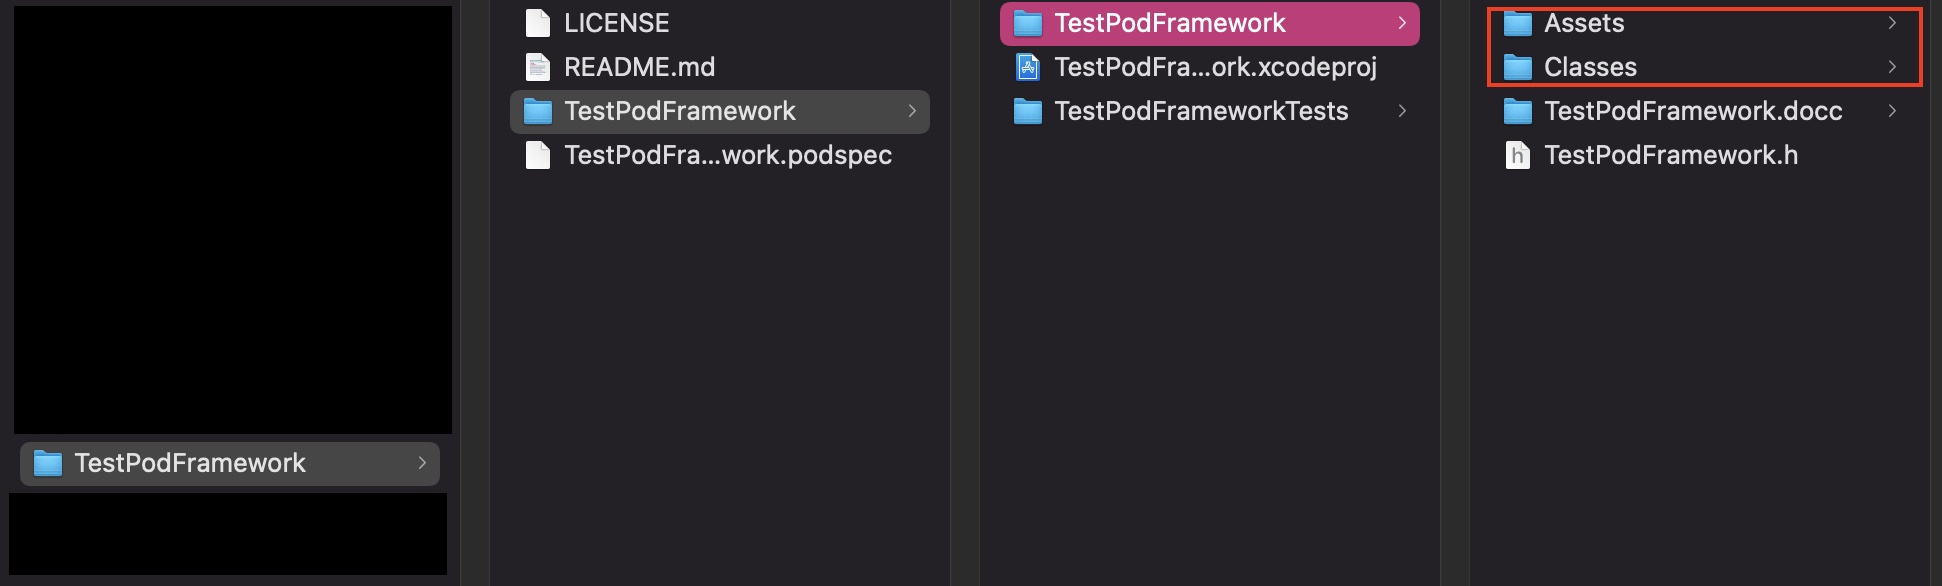
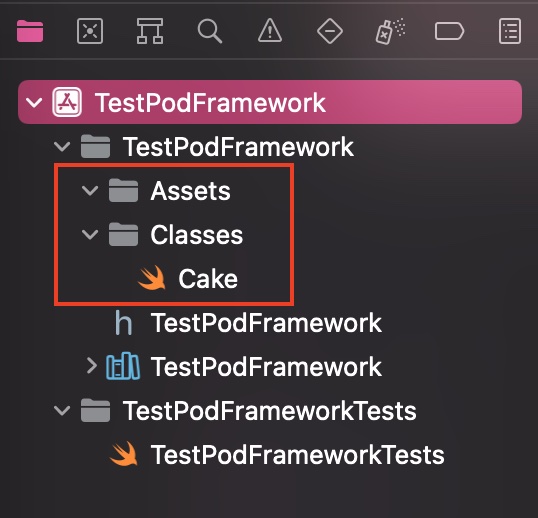
- 打開 TestPodFramework.xcodeproj,使用 add file 的方式把 Classes 和 Assets,確認一下可否編譯
- 最後一步,因為 source_files 路徑改變,請打開 TestPodFramework.podspec,修改 s.source_files
1
s.source_files = 'TestPodFramework/TestPodFramework/Classes/**/*'
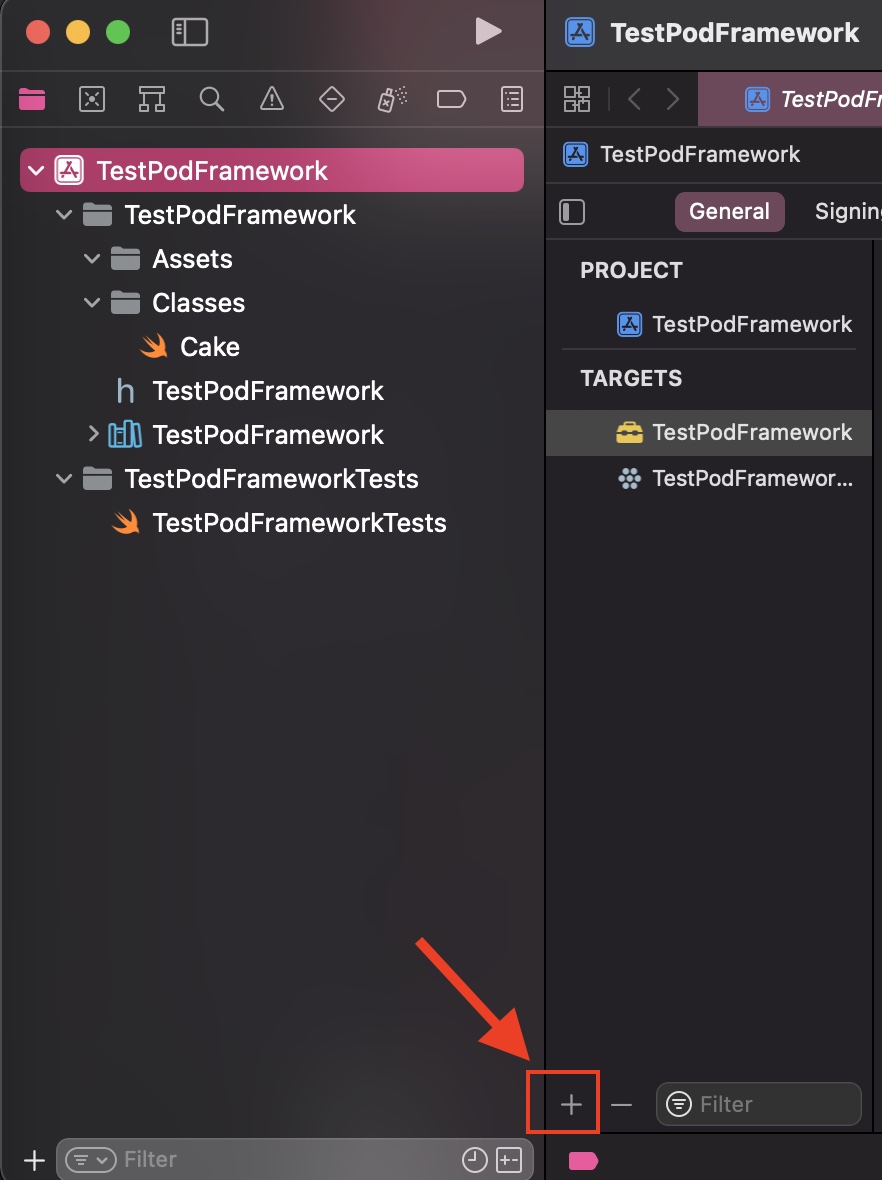
新增Demo
- 打開 TestPodFramework.xcodeproj,按下下方,新增一個 App
- 如果要將此 Demo import TestPodFramework,請先使用 pod init,新增一個 podfile
- 修改 podfile,最後重新 pod install
1 | target 'DemoTestPodFramework' do |
- 打開 TestPodFramework.xcworkspace,恭喜大功告成了
Demo 連結
TestPodFramework
TestPodFramework - podspec
新增 DocC (選用)
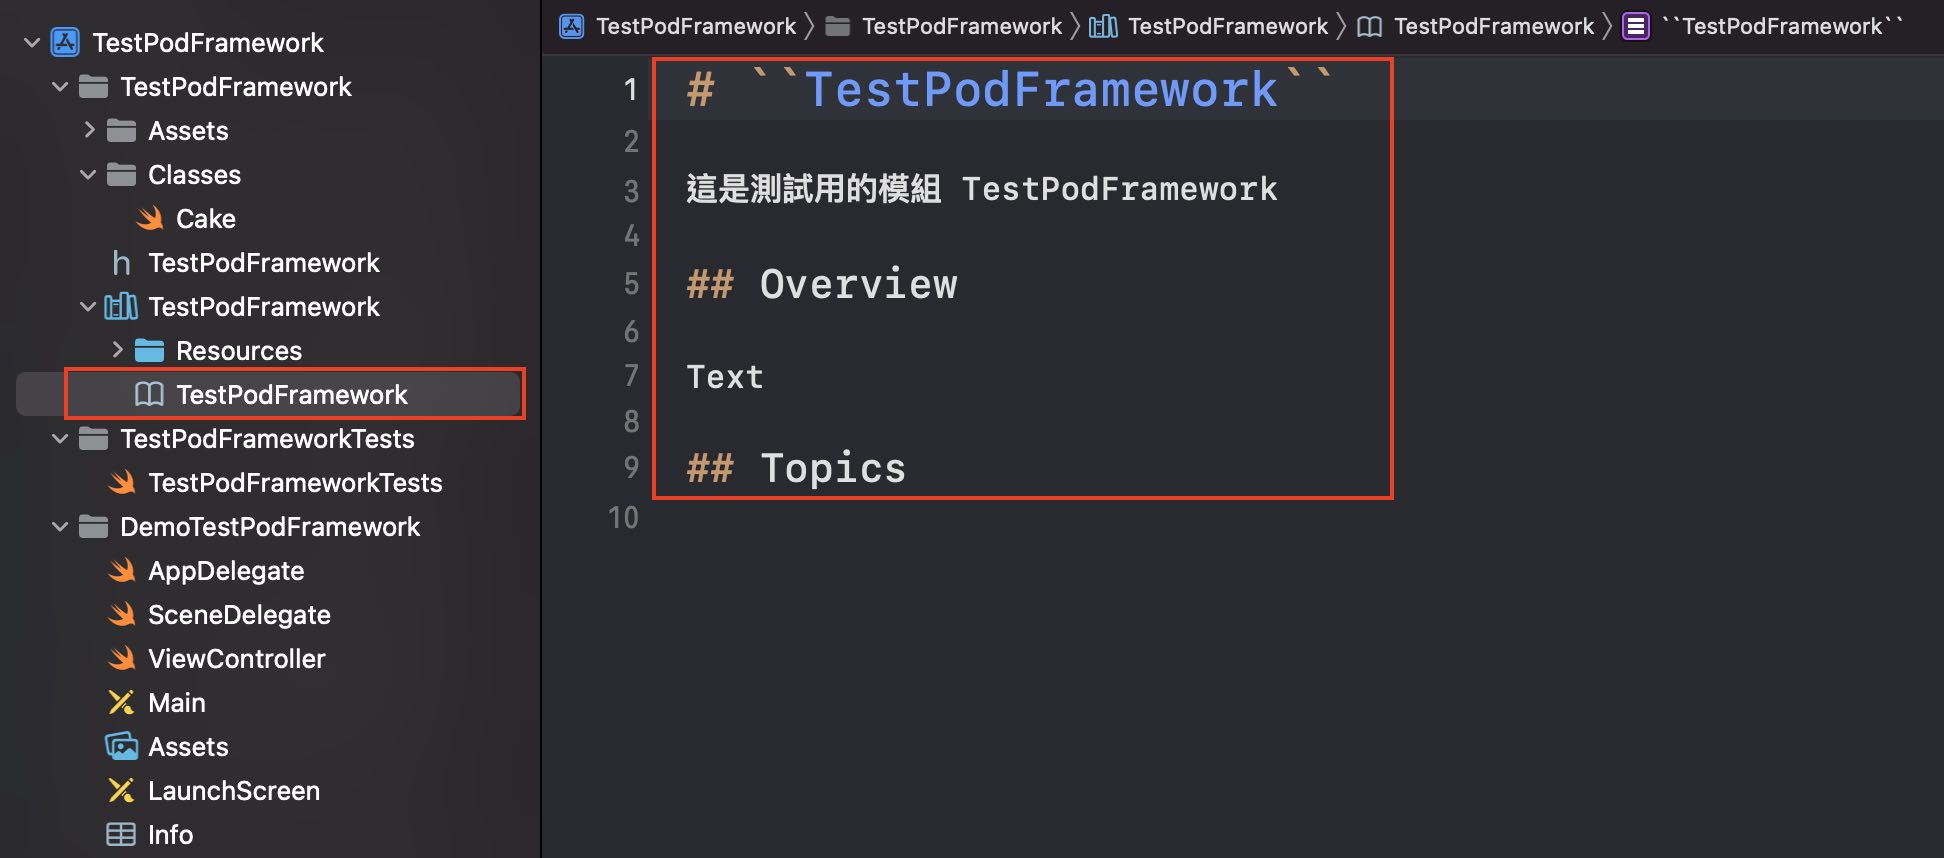
- 調整 TestPodFramework.docc 裡的 TestPodFramework.md
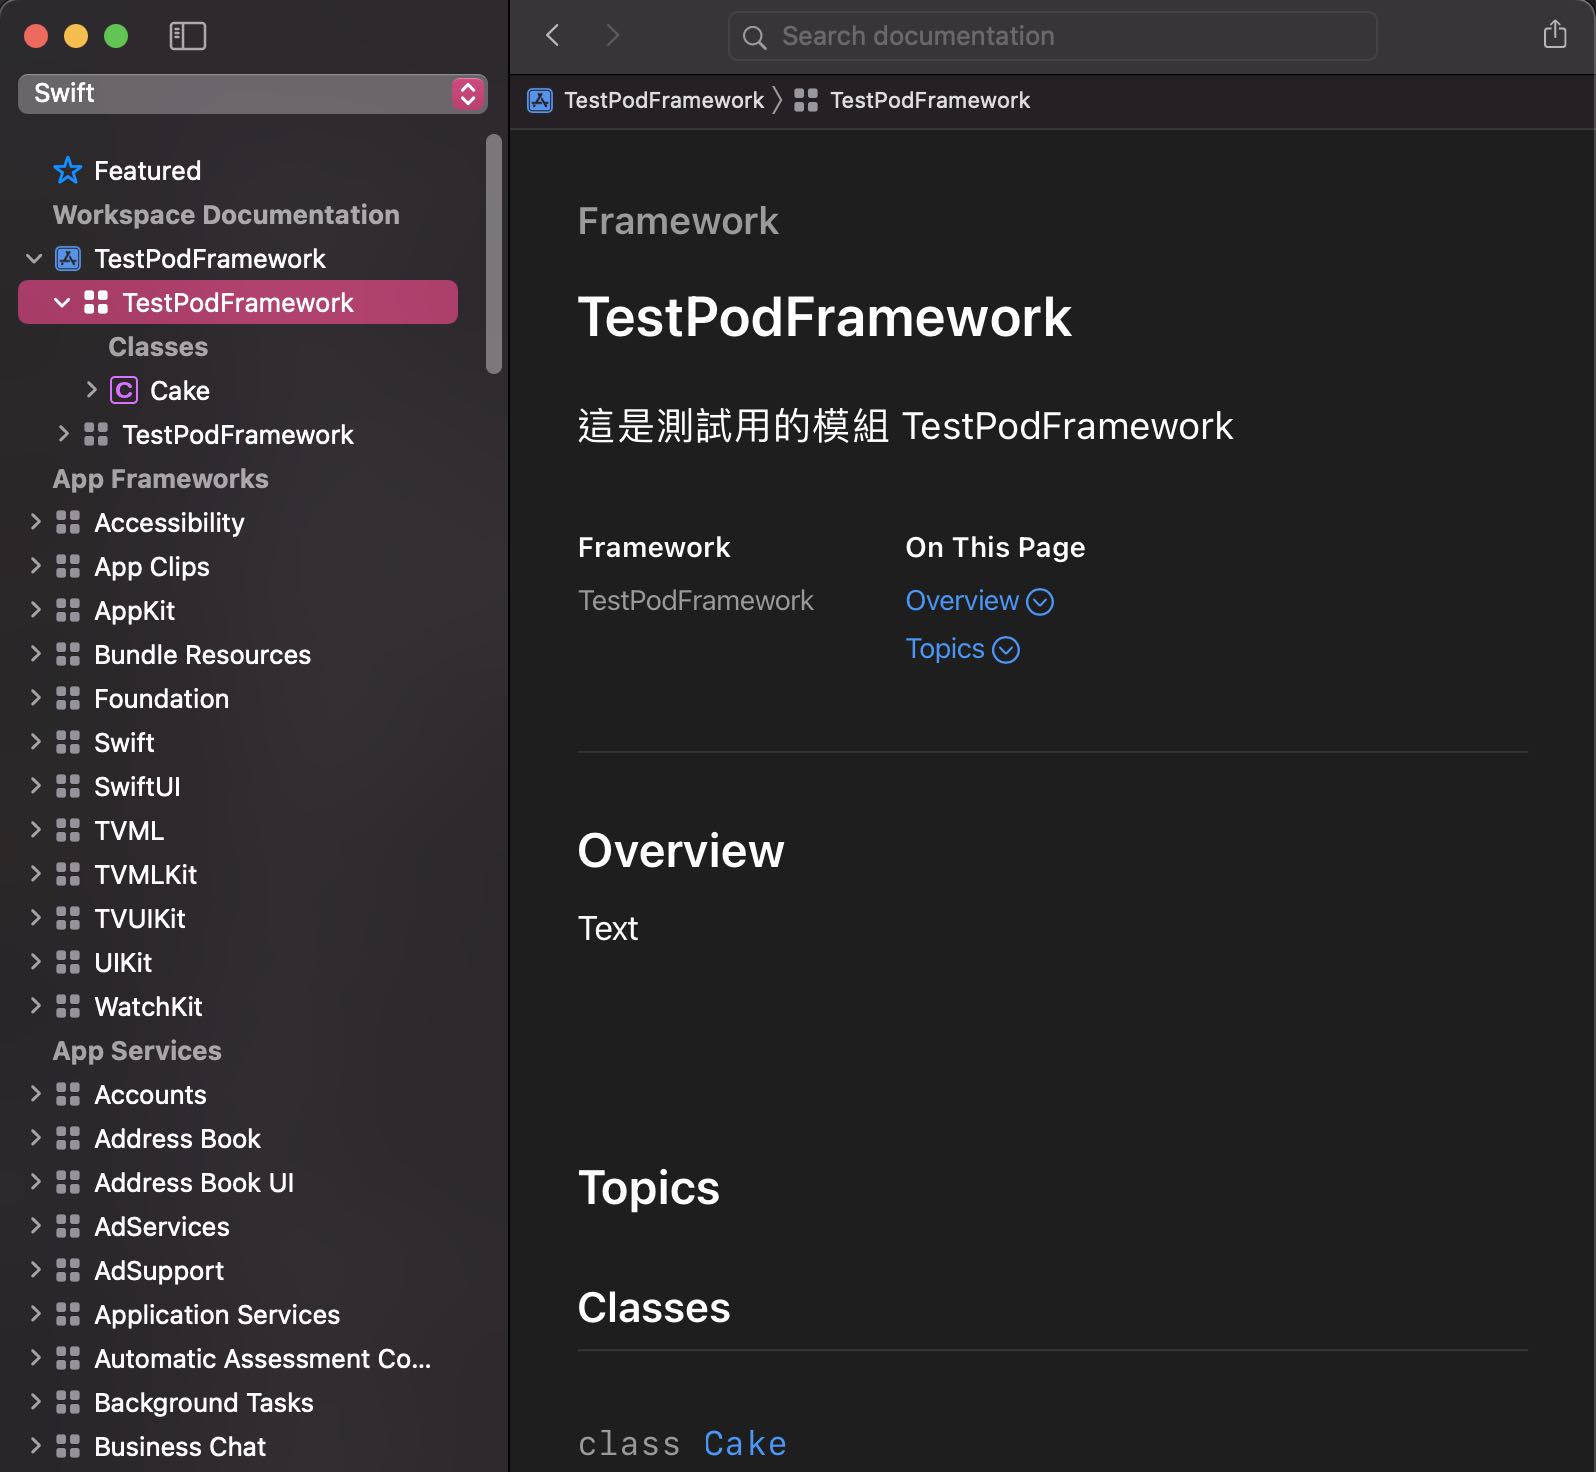
- 點擊 Product > Build Documentation,即可完成!
新增 UnitTest (選用)
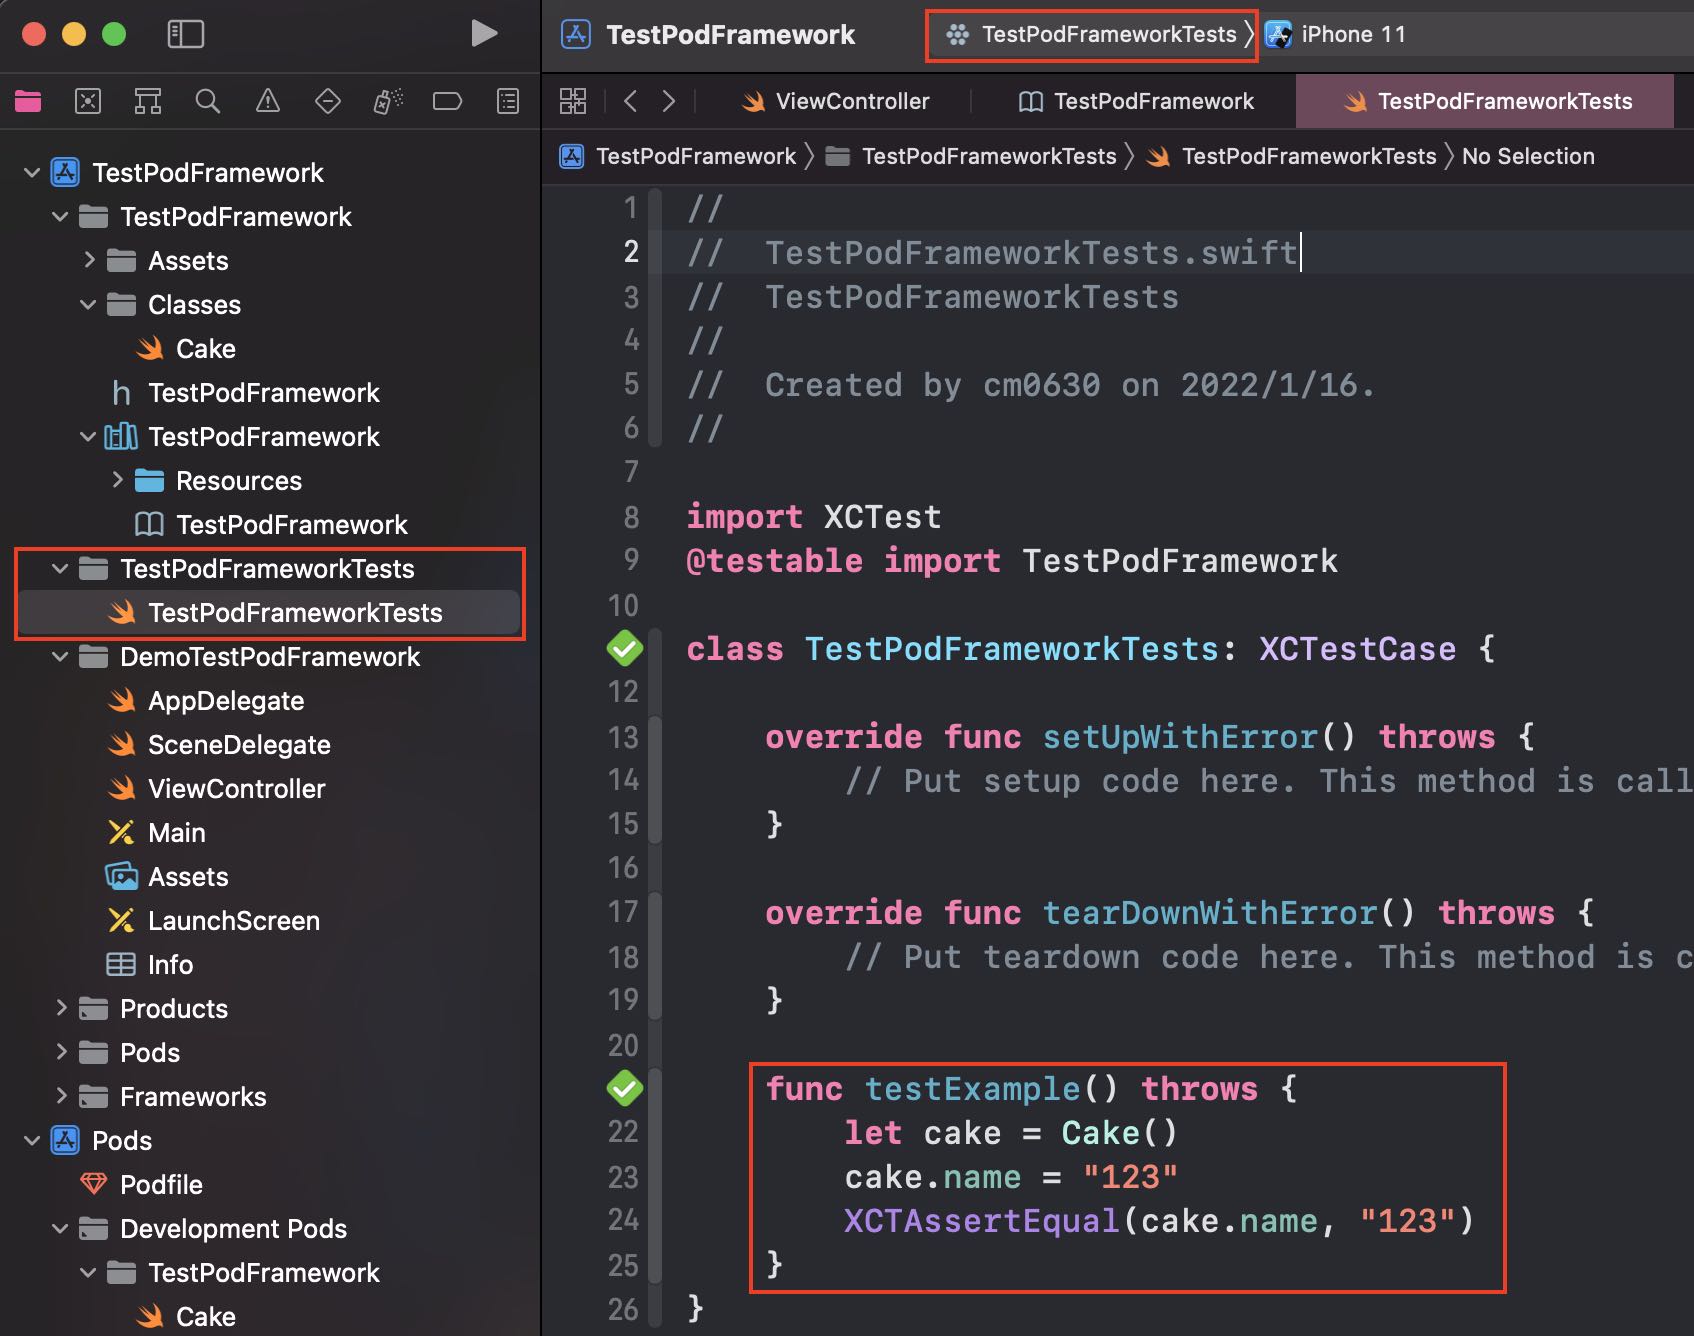
- 新增 UnitTest 的 Scheme,TestPodFrameworkTests
- 編輯 TestPodFrameworkTests,執行測試即可完成!
希望這篇文章有幫助到您的開發之路!如果能給我一些按讚支持,我會非常感謝您的鼓勵!祝壞蟲遠離您!
相關推薦


評論